Sunday, January 29, 2012

It's GREEN and they are eating it!

Pin It


Do your kids eat their green veggies? Mine don't. Miss A will try one bite of everything on her plate which is the house rule, but that's about it. With miss G we are lucky if she will bring a green veggie near her mouth let alone actually eat a bite. Miss G may pick up the green vegetable, eye is suspiciously, smell it, and I even recall her once licking a piece of broccoli, but she won't take a bite (except for artichokes - those she scarfs down). So, you can understand when my coworker was telling be about how yummy kale chips were I was intrigued, but a bit skeptical. I figured there was no way my kids would eat baked green leafy vegetables even if they were crispy and called chips. But a couple weeks later my husband had some left over kale from a dish he was making, so we tried it.

It's a super simple recipe. First rip the kale into bite sized pieces - the girls were a big help with this.

Then wash the kale and dry thoroughly - we used a salad spinner. For the kale to get crisp in the oven it needs to be completely dry)

Spread in a single layer on a cookie sheet then lightly spray with olive oil (you could also shake the kale with oil in a large Ziploc if you don't have a mister) sprinkle with salt and any other flavorings you like - garlic salt and onion salt is what my kids liked.

Then bake at 350 degrees for 5 to 10 minutes - watch them really closely at the end and take them out when they crisp but before they start to turn brown.

I used our chips as a side dish for pasta and was amazed as both kids ate their vegetables. Miss A liked them so much she wanted my kale chips. I gladly gave them - who can refuse a kid asking for veggies.

How do you get your kids to eat their veggies?


Tuesday, January 24, 2012

I-Spy Jar

Pin It


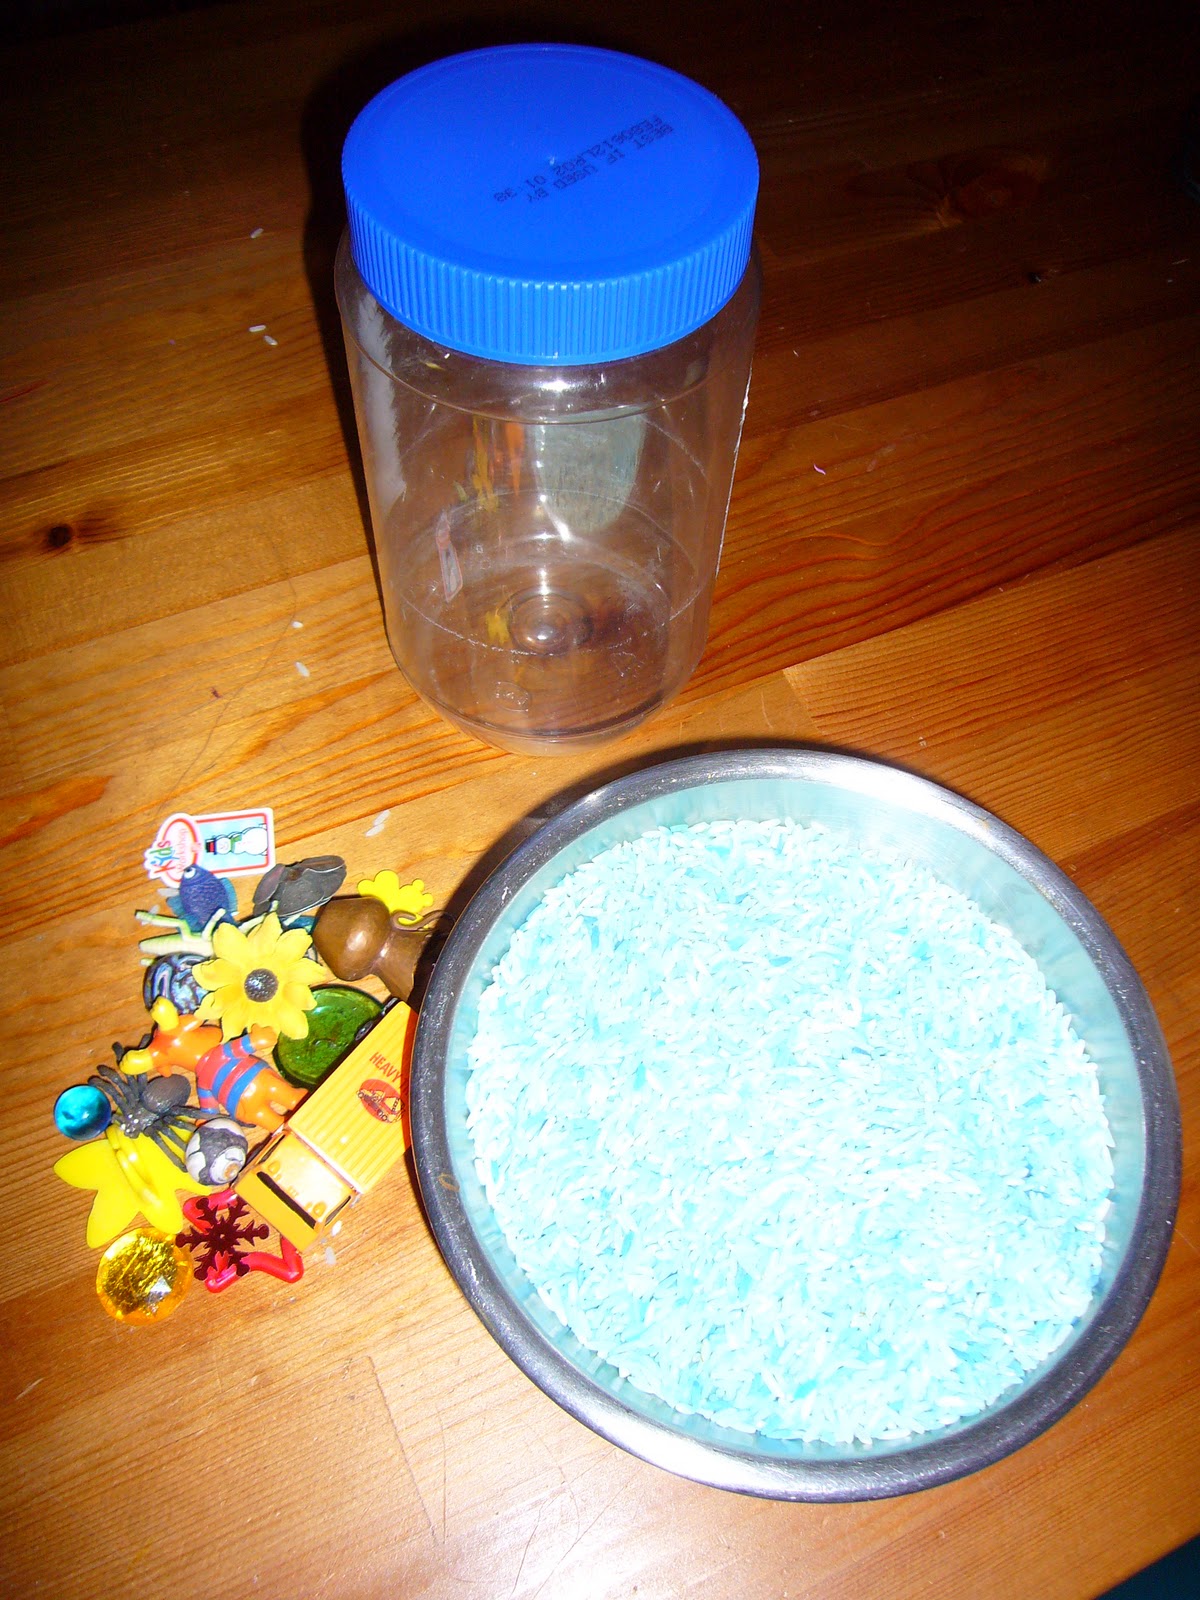
On a recent trip to the library my oldest daughter discovered their collection of homemade I-Spy jars and happily shook and rolled away a morning. She had so much fun I knew I needed to make one for us. The materials are simple and abundant in a house with young kids - an empty clear plastic container, rice, and some small items. I was happy to put to use the numerous small items my daughter A keeps in in a bucket and calls her collections - rocks, shells, buttons, washers, coins, small plastic animals, jewels, paper clips, marbles, scraps of paper... well the list is pretty much endless.


Make sure the jar is clean and dry and remove any labels, take a picture of your small items and then place in the jar and partially fill with rice.The more rice in the jar the harder it is to find the items, conversely the less rice the easier they are to find. We liked slightly over 3/4 full. I used some colored rice I had from a sensory box. If you would like to color your rice simply place in a large zip lock and put in a few drops of food coloring, close the bag and shake around. My girls love the shaking part. Keep adding food coloring until you get the shade you want then set the coloring by pouring a small splash (1/2 teaspoon) of rubbing alcohol in the bag.


The jar itself is a great quiet activity for a waiting room or long car ride. Print out the picture you took of all the items and the kids can try to find them. G is a little young for matching to the printed image, but she enjoys shaking the jar and telling me what she finds. For an older child you could ask them to tell you the color of the item, the first letter of the item or have them rhyme a word with the item.  After I made our jar my husband told me he had seen a fun game at the store with an I-Spy jar - there were cards with an image of each item hidden in the jar and a timer - you would draw a card then see if you could find the item before the timer ran out. Once my girls tire of this jar we may try that.

Do you know any other games or learning activities to play with an I-Spy jar?

Saturday, January 21, 2012

Craft Stick Bracelets

Pin It


They are gorgeous aren't they? Who know that the humble craft stick could be transformed into something so lovely. I came across this on A Mom With a Lesson Plan and as soon as I got home from work we had to try it. We emulated Jill's idea of adding some science to the craft. First the girls and I observed the craft sticks with almost all our senses, we skipped tasting. Before boiling the sticks the girls found the sticks were hard, smooth, smell like wood, and make a sound when tapped on the table. A observed that different sized sticks made a different sound. After we observed we talked about what boiling does to foods - eggs get harder when cooked and spaghetti gets softer. A's hypothesis was that the sticks would get softer.


We boiled our sticks for 20 minutes as directed then pulled one out to test. We used our senses again to observe the craft sticks. After boiling 20 minutes the sticks were warm, wet, a little rough, still make a similar sound when tapped on a table, and were kind of bendy. The girls helped me with a little destructive testing on our stick - they bent it and although it was softer there was no getting it into a cup to shape it. They happily destroyed the stick while I continued boiling. They enjoyed how now the wood split apart at the grain instead of just breaking in half. After another 25 minutes we checked the sticks again - the craft sticks were much softer. The girls again worked on some destructive testing while I coaxed the sticks into our glasses forming the bracelet shape.

The next evening we worked on the more crafty part of the project. We tried a couple different ways of decorating the bracelets - watercolors, tempera paint, and paper. Watercolors were A's first choice as we have been using them on wood lately for a more stained effect. We broke them out and she went to work really enjoying herself and applying layer upon layer of WHITE!! Just so you know, white doesn't show up on wood. I suggested other colors, but she was determined and happy so she painted away. After about 15 minutes I took a look at her bracelet and it was almost uncurled. I called a halt to the water colors and placed the stick back in a cup to reform. After some discussion we decided that G would paint her bracelet with Tempera and that A and I would put pretty scrap book paper on ours.


We traced a flat craft stick onto our paper, cut it out, then adhered it with the Modge Podge.


After that dried for a few minutes we covered the entire bracelet with more Modge Podge thinking it would make it a little more resistant to water.


They turned out lovely - this is definitely a craft/science experiment we'll do again.

How do you play with science in your house?



Science Sunday