My kids love to help me cook. G in particular loves helping in the kitchen, actually crying if I tell her it's a dish she can't help with. Having such an enthusiactic toddler helper is great and I'm glad we can share special time together, but the help definitley increases the stress in the kitchen. I've found the 3 tips below increase our fun and help me cope with my little kitchen helper.
1- Accept the mess
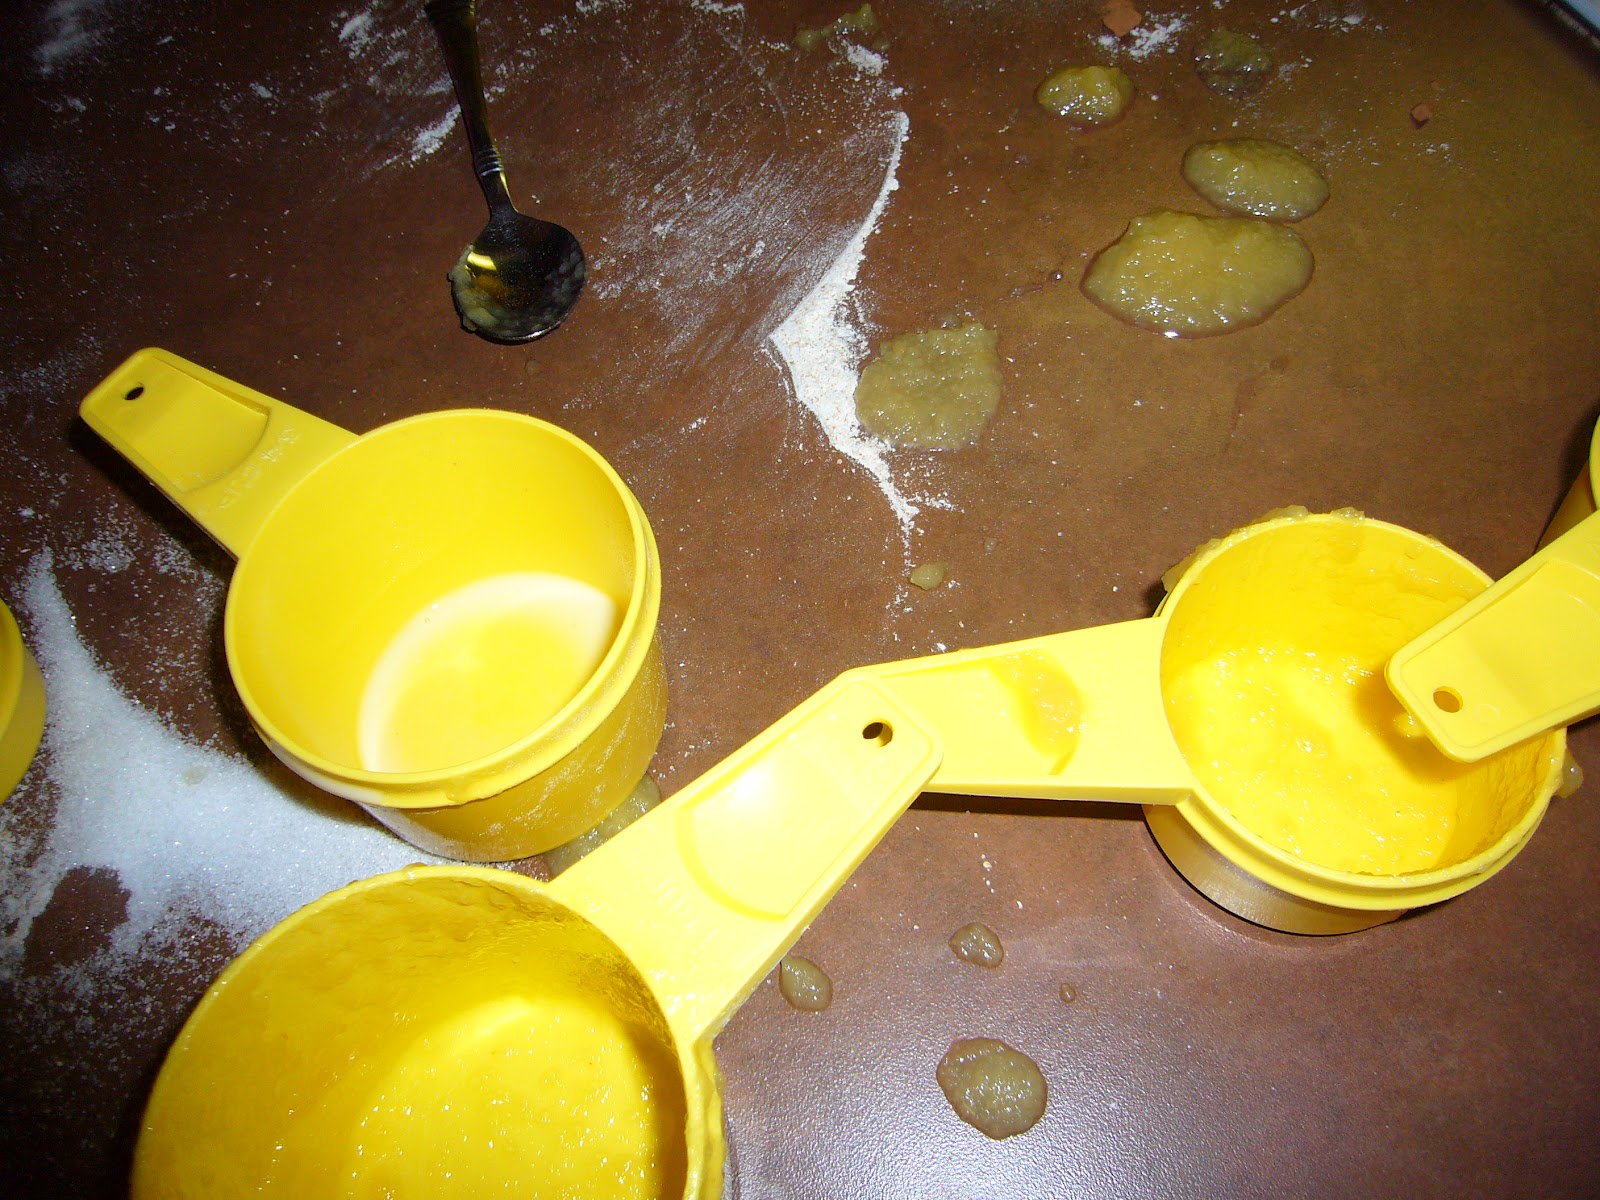
The truth is, cooking with a toddler is messy; that is just the nature of a toddler. Toddlers are explorers; and learning about their world is there job. They need to smear and dribble and splash. For me the best way to deal with the mess is to adjust my expectations. I make sure that G is not in a special outfit, that all items that could be ruined are off the counter, and that I'm not rushed; then I just roll with it. This stage is so fleeting; soon G's motor skills will develope, she will pour accuratly, follow directions, and I will remember fondly how she used to draw pictures in the flour.
2- Prepare, Prepare, Prepare
The more I prepare the more I enjoy cooking with a toddler. If possible I gather my ingredients and do any chopping or peeling while G is distracted elsewhere. Cooking is a lot more fun with a toddler if I don't have to worry about sharp knives or digging through the cupboards for an item. If I turn my back while cooking G will get creative and start adding anything she can get her hands on to the dish (dogfood pie is not so good).
3- Select your recipe carefully
In terms of eating G is a typical picky toddler, until we start cooking. She has to sample almost every ingredient as we cook; a blessing or a curse depending. Tasting raw chicken - very bad! But tasting brocolii she would never touch if it was on her dinner plate - good, good, good. If there is particular food item I really want G to try I will incoporate it into cooking with her. Without the pressure of sitting at the dinner table she is more likely to explore the food, pick it up, play with it, and ultimately taste it. (sneaky -
I know). But since I can never be sure what my toddler will put in her mouth while cooking I also make sure that all the incredients in the recipe can be eaten without causing major harm. Below is one of my family's favorite tasteable recipes - Almost Healthy Chocolate Cake.
Almost Healthy Chocolate Cake (adapted from
Secrets of Fat Free Baking)
1 3/4 cups whole wheat flour
1 1/4 cups sugar
1/3 cup cocoa powder
2 teaspoons baking soda
1 1/2 cups unsweetened applesauce
3/4 cup skim milk
2 teaspoons vanilla extract
1/4 to 1/2 cup semi sweet chocolate chips or chopped dark chocolate
*Preheat the oven to 325 degrees
*Oil a 9x13 baking pan
*Mix all the ingredient except the chocolate chips in a large bowl - the kids can mix them up in any order and the cake still turns out wonderful. The batter will be a little lumpier than a traditional cake due to the applesauce.
*Pour the batter in the pan then sprinkle the top with the chocolate chips.
*Bake for 50 minutes
*Cool and eat. The cake is quite a bit moister than a traditional cake, more like a cake brownie. I hate to admit that the cake is devoured within about 3 days when we bake it, but if you will be keeping longer it's best to put the cake in the fridge. The cakes moister texture will cause it to spoil quicker if not refrigerated.
What are your tips for baking with kids?